Installing it and opening it, step by step.
Here are the three steps, with what you will see on screen and what to do in each one.
Step 1 · Install
Drag it to Applications.
Double-click the file you downloaded. A window opens with Brisa’s icon and a shortcut to Applications: drag the icon onto it.
Step 2 · Allow it
The macOS warning, and how to clear it.
This version is not published on the App Store, so macOS cannot check its signature and shows a warning. It does not mean anything is wrong with Brisa.
-
Try to open it.
Double-click Brisa. macOS will show the warning and won’t open it: that attempt is what the next step needs.
-
Go to Privacy & Security.
Open the Apple menu and go to System Settings. In the list on the left, scroll down to Privacy & Security.
-
Allow it.
Scroll to the Security section and find the notice about Brisa. Click Open, then Open Anyway.
-
Confirm with your password.
Enter your Mac password. Brisa will open, and this step is never asked again.
The entry stays in that panel for about an hour and then disappears on its own. If it is gone, try opening Brisa again and repeat from the second step.
On earlier versions of macOS the same step is done with a right click: on Brisa’s icon in Applications, choose Open and confirm with Open.
Step 3 · Inside
The scan and the disk permission.
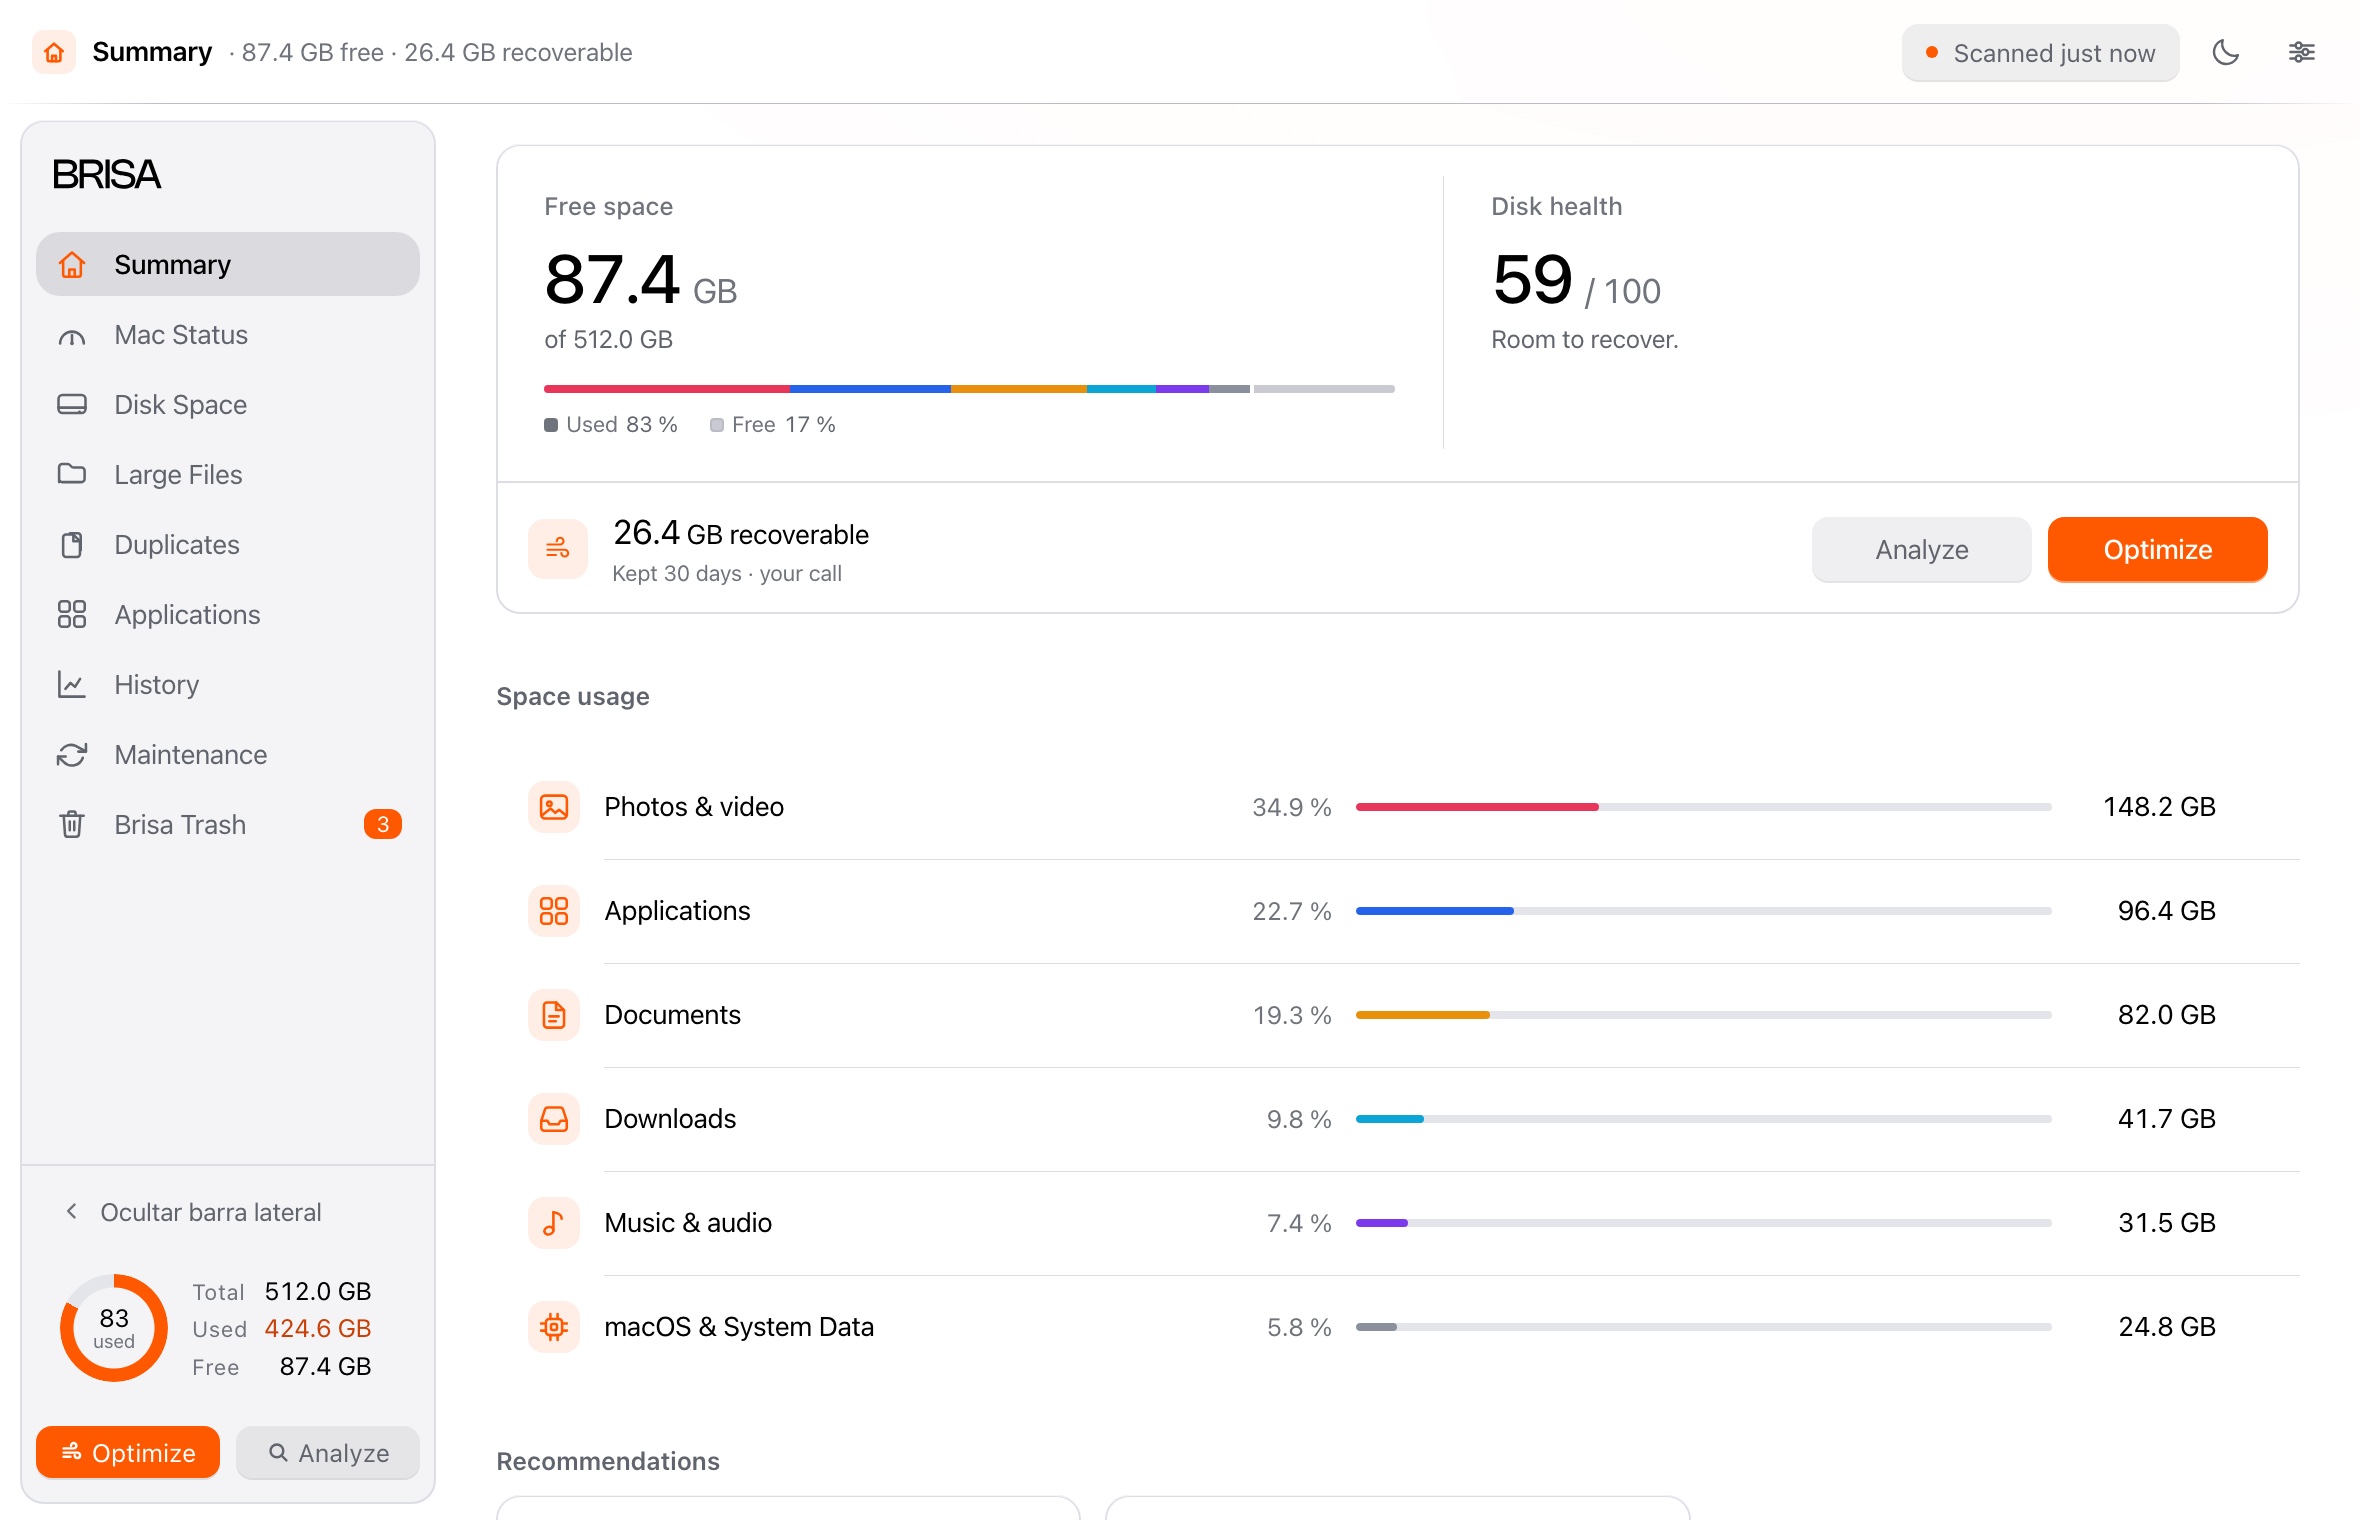
Brisa scans your Mac as soon as it opens. When it finishes it offers Full Disk Access, to measure the folders macOS protects.
If you grant it, it scans again. If you would rather not, it works all the same: it measures everything else and tells you what is missing.
Your privacy
Your files never leave your Mac.
Brisa measures your disk on your own Mac. There are no accounts and no tracking, and nothing is sent anywhere.
Something not working?
Tell me what happened and which step you got stuck on. A screenshot helps.