Install Brisa in three steps.
Brisa is handed out by hand, so macOS asks for a confirmation the first time. Three steps, under two minutes.
Granted for personal use. Downloading and using it means accepting the License.
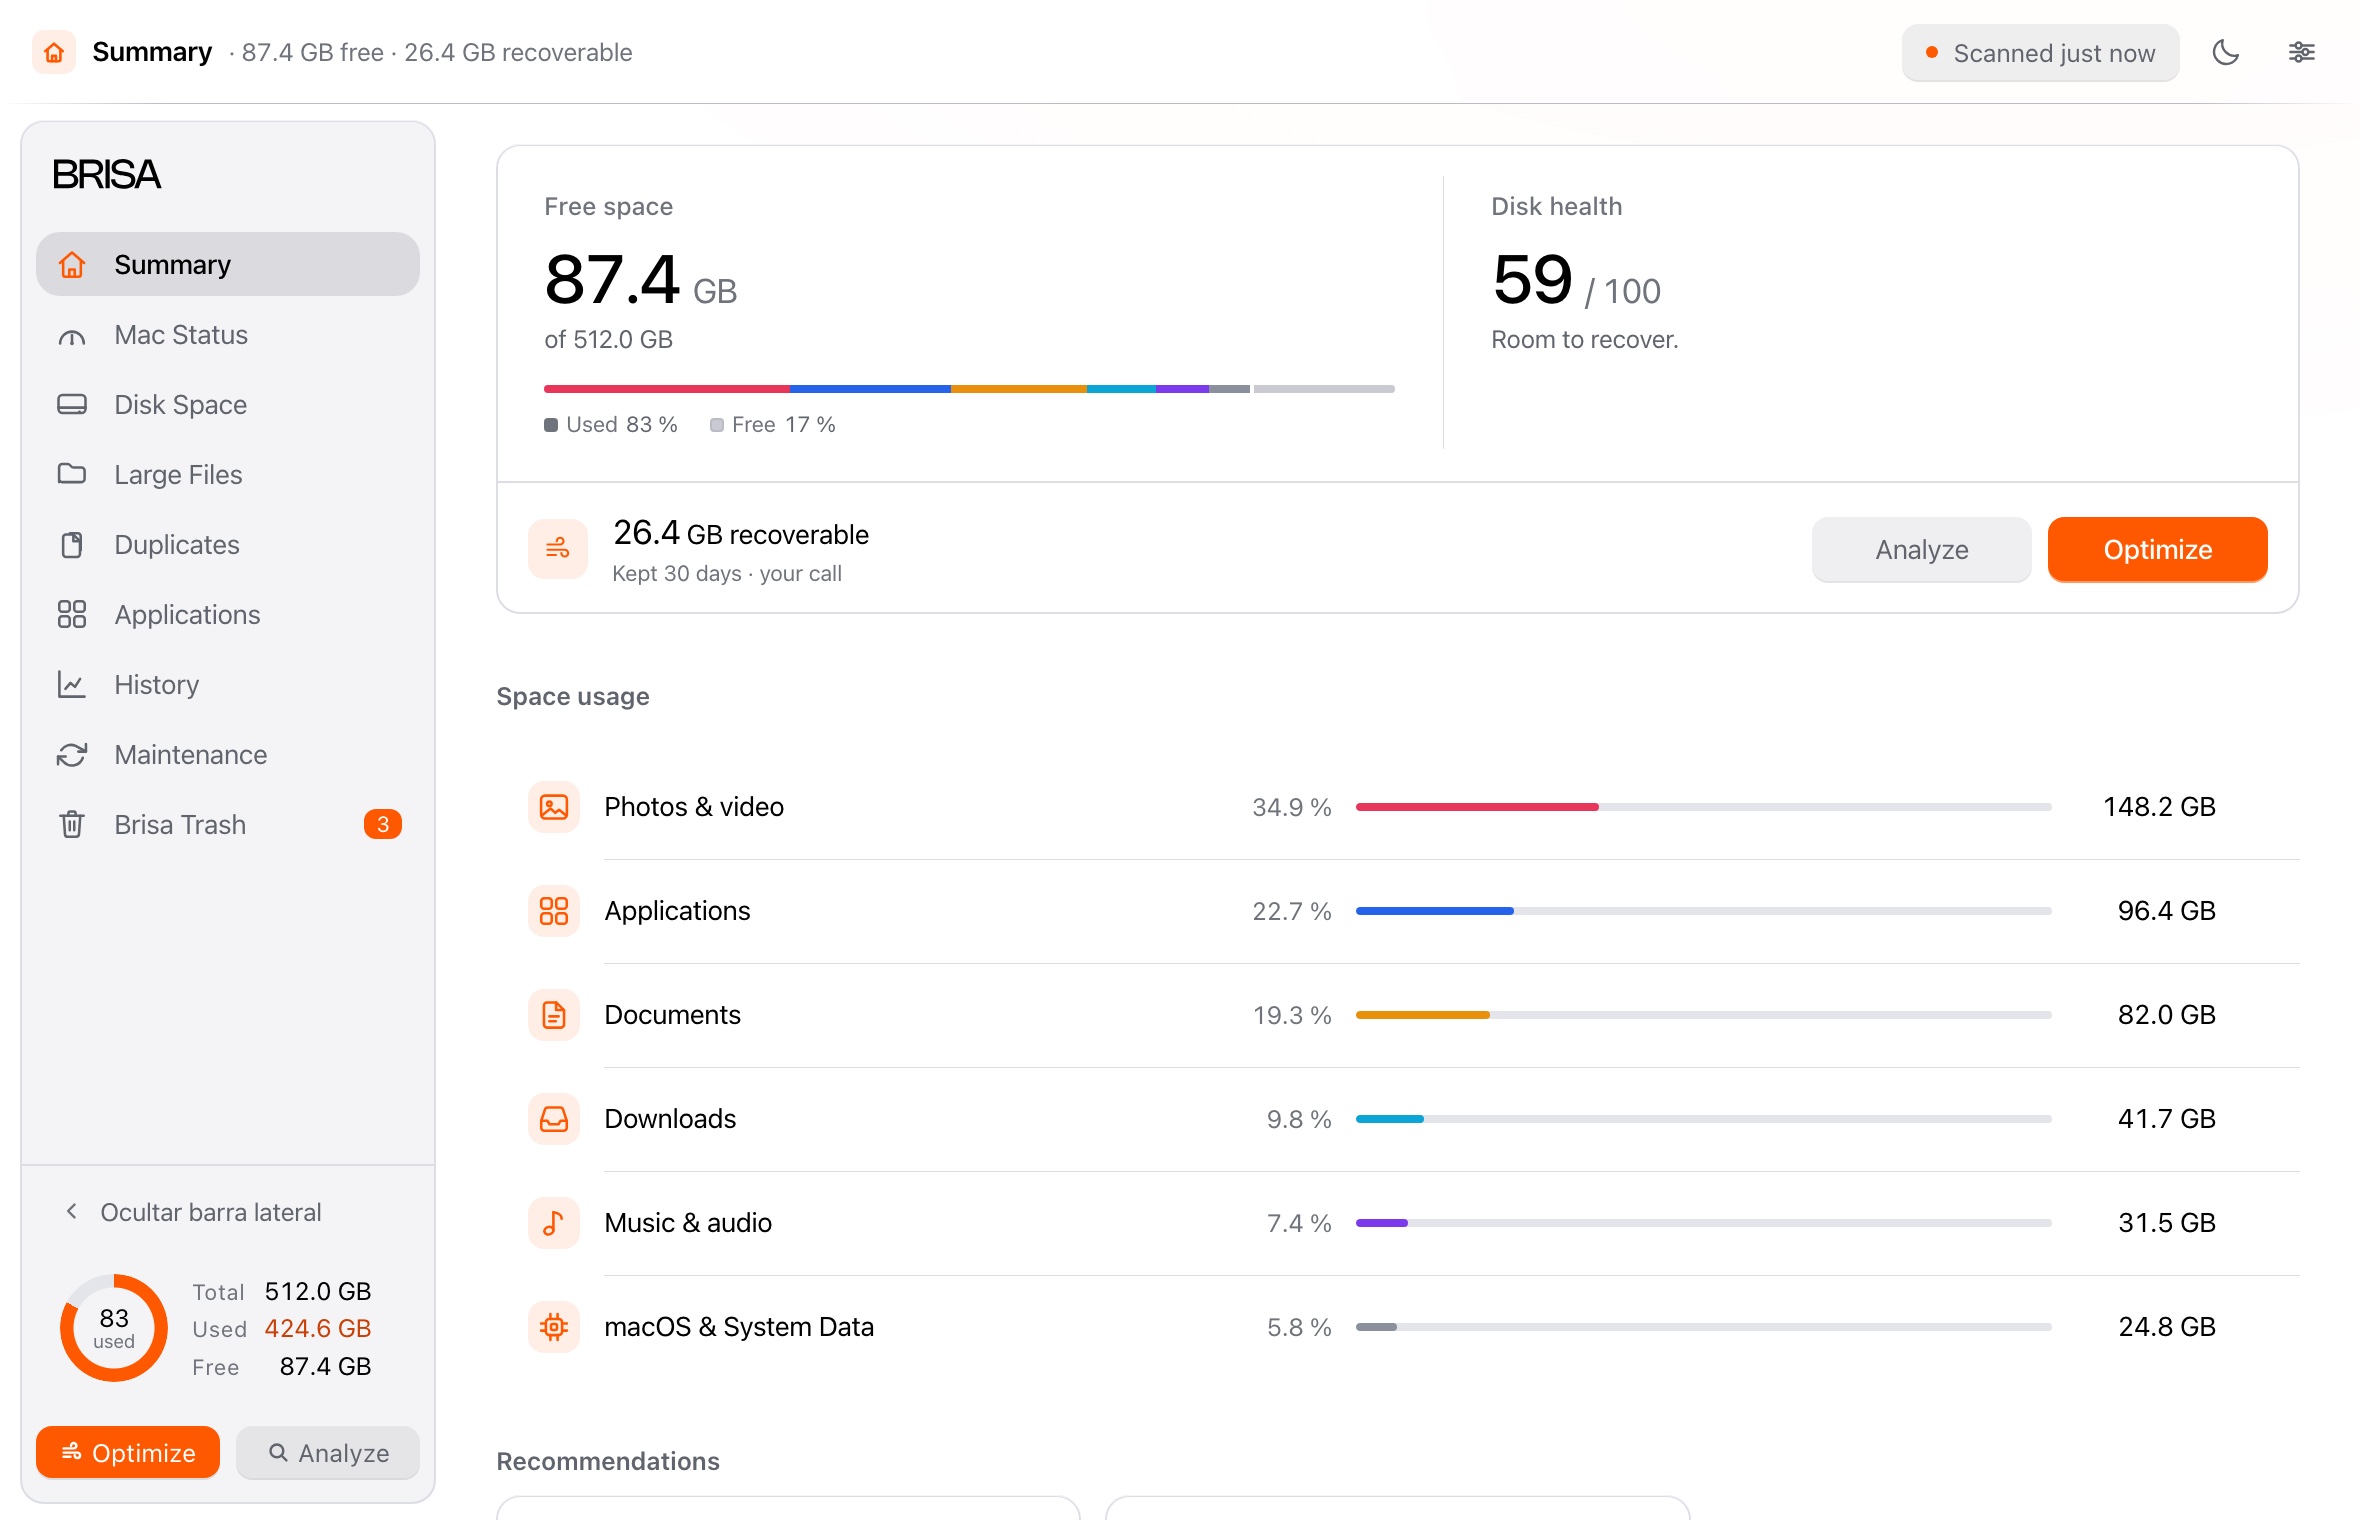
See it before you install it.
The same engine in your browser: the interface you are about to download, with sample data and without touching your disk.
-
Install Brisa.
Open the installer and drag Brisa to the Applications folder right beside it.
-
Open it the first time.
macOS will show a warning along the lines of “Apple could not verify that Brisa is free of malware.” It does not mean anything is wrong with Brisa.
To open it this first time:
- Open the Apple menu and go to System Settings.
- Go to Privacy & Security and scroll down to the Security section.
- Find the notice about Brisa: click Open and then Open Anyway.
- Enter your Mac password.
Once only. After that it opens with a double click, like any other app.
On earlier versions of macOS: right-click Brisa in Applications and choose Open.
-
Once you are in.
Brisa scans your Mac as soon as it opens. When it finishes it offers Full Disk Access, to measure the protected folders. You can say no.
The moment you grant it, Brisa scans again.
The notice stays in Privacy & Security for about an hour. If it is gone, try opening Brisa again and repeat the step.
Uninstall
Without a trace.
Brisa keeps its data in a single folder. This command removes the automatic maintenance and all local data. Then delete the app from Applications.
/Applications/Brisa.app/Contents/MacOS/Brisa --reset
It runs in Terminal, needs no administrator rights and touches nothing else.
Beta
What testing it now means.
The first version out of the house. The scan, the disk map, duplicates and the uninstaller all work. The disk permission after a new build is the weakest part.
Something not working? Reply to the message where you got the installer and tell me what you were doing, what you expected and what happened.